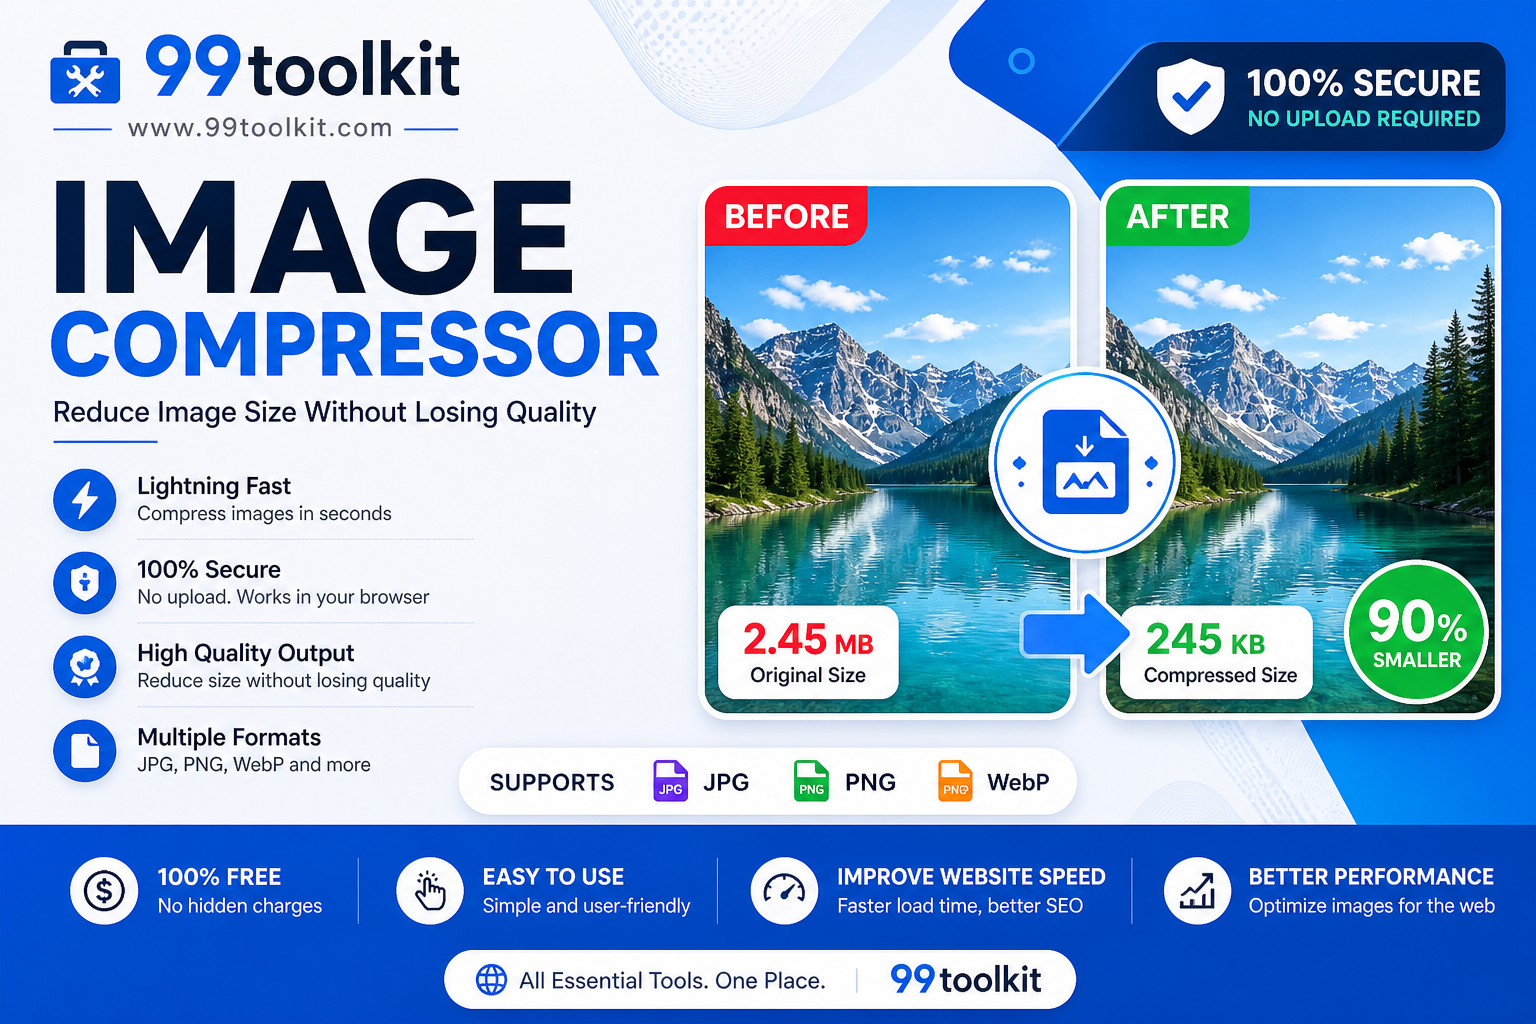
You just designed a beautiful website. You bought an expensive web host, wrote incredible content, and hit publish. But when you visit the site on your phone, you sit there staring at a blank screen for ten seconds while a massive hero image slowly loads from top to bottom. Users hate slow websites, and so does Google. The number one cause of slow load times is unoptimized, oversized photography. Before you upload a photo from your camera or a stock website to your server, you must run it through a reliable Image Compressor.
In this guide, we will explore why file sizes matter, the difference between lossy and lossless compression, and how you can use the free Image Compressor on 99toolkit to shrink your files by up to 80% without losing visual quality.
What is an Image Compressor?
An image compressor is an optimization tool that uses advanced algorithms to reduce the file size (the megabytes or kilobytes) of an image file (like a JPG or PNG).
When you take a photo with a modern smartphone, the camera captures millions of colors and microscopic details, resulting in a massive file (often 5MB to 10MB). While this is great for printing a billboard, it is disastrous for web design. A compressor analyzes the image and cleverly removes invisible metadata and slightly blends similar pixels together. The human eye cannot tell the difference, but the file size drops dramatically.
Key Features of the 99toolkit Image Compressor
Our compression tool is designed to strike the perfect balance between high visual quality and minimal file weight. Here is why developers rely on it:
- Smart Compression Algorithms: The tool automatically determines the optimal compression ratio to drastically reduce the file size before any pixelation or blurring becomes visible to the human eye.
- Browser-Based Processing: For maximum speed and privacy, the compression happens directly inside your web browser. You don’t have to wait for the image to upload to a remote server.
- Multiple Formats: Seamlessly compress the most common web formats, including JPG, JPEG, and PNG files.
- Instant File Size Preview: See exactly how many kilobytes you saved (e.g., “Reduced by 75%”) before you download the final image.
- No Watermarks: We will never ruin your photography with branding or watermarks.
How to Use the Image Compressor (Step-by-Step)
Optimizing your photography takes just a few seconds. Follow these steps:
- Select Your Image: Click the upload button to choose a photo from your computer, or simply drag and drop the image directly onto the tool.
- Set Compression Level (If Available): Some modes allow you to choose between standard (balanced) or aggressive (maximum file size reduction) compression.
- Process the Image: The tool will instantly analyze the pixels and strip away the unnecessary data.
- Review the Savings: Look at the before-and-after file sizes. You will often see a 5MB photo shrink to under 500KB.
- Download: Click the download button to save the newly optimized, web-ready image to your device.
Why Image Compression is Crucial (The Benefits)
Uploading raw photos to your website is a critical error. Here is why compression is mandatory:
- Drastically Improves SEO: Google’s search algorithm heavily penalizes slow websites. Because images usually account for 60% of a page’s total weight, compressing them is the fastest way to improve your PageSpeed Insights score and rank higher.
- Saves Mobile Users: Not everyone has high-speed 5G internet. If a user on a slow 3G connection tries to load a 10MB image, their browser will time out. Compression ensures global accessibility.
- Reduces Hosting Costs: If your website gets thousands of visitors, serving massive images will quickly consume your monthly server bandwidth limits, resulting in high overage fees from your web host.
- Faster Backups: A leaner media library means your website backups will run faster and take up less storage space on your hard drive.
Real-Life Use Cases
Who relies on image compression every single day?
Bloggers and Content Creators: Travel bloggers who upload dozens of high-resolution photos per article use compressors to ensure their highly visual pages still load in under 3 seconds.
E-commerce Store Owners: An online store might have 5 photos per product. If there are 1,000 products, that is 5,000 images. Compressing these images ensures the product catalog remains snappy and responsive, preventing customers from abandoning their carts.
Digital Marketers: When sending out an HTML email newsletter, marketers compress their banner images heavily to ensure the email doesn’t get flagged as spam due to an enormous file size.
Tips for Best Results
Optimize your media like a professional web developer with these tips:
- Resize Before You Compress: If you upload an image that is 4000 pixels wide, but it will only be displayed in a 500-pixel blog column, compression alone isn’t enough. Use our Image Resizer first to scale it down, then compress it.
- Know Your Formats: Use JPG for complex photographs with lots of colors. Use PNG only for simple graphics or images that require a transparent background. JPGs compress much smaller than PNGs.
- Aim for Under 200KB: As a general rule of thumb for web design, try to get every single image on your page under 200KB, and your massive hero banners under 500KB.
Common Mistakes to Avoid
Avoid these frustrating visual errors:
- Compressing the Same Image Twice: Compression is usually lossy. If you compress a JPG, download it, and compress that exact same downloaded JPG again, artifacts and ugly pixelation will begin to appear. Always compress from the original raw file.
- Using PNG for Photographs: Saving a portrait photo of a person as a PNG is a massive mistake. It will result in a file size 3 to 4 times larger than a JPG with absolutely no visual benefit.
FAQs
1. What is the difference between lossy and lossless compression?
Lossy compression permanently deletes hidden data to drastically reduce the file size; it may cause a slight drop in quality if pushed too far. Lossless compression only removes metadata without altering any pixels, maintaining perfect quality but resulting in a much smaller file size reduction.
2. Will compressing my photo make it look blurry?
If you use a smart compressor like 99toolkit, no. The algorithms are designed to stop compressing right before the human eye can detect a loss in quality. However, extreme compression settings will eventually cause blurriness.
3. Why did my PNG get a black background after compressing?
If you convert a transparent PNG into a JPG during compression, the transparency is lost, and it defaults to a solid background (usually black or white). Ensure you keep transparent images as PNGs.
4. Does the compressor keep my EXIF data (location tags)?
No. To save maximum space, web compressors strip out hidden EXIF data, including the camera model, date taken, and GPS location coordinates. This also helps protect your privacy online.
5. Is the 99toolkit image compressor free?
Yes. You can optimize as many photos, graphics, and banners as you need completely free of charge.
Conclusion
In the fast-paced digital world, users will not wait for your images to load. Heavy, unoptimized photography is the silent killer of website conversions and search engine rankings.
Make your website lightning fast today. Bookmark the free Image Compressor on 99toolkit, shrink your file sizes, and deliver a seamless, high-speed experience to every visitor.